
 EN
 English
 Español
 عربى
 中文简体


-
+86-13616168066

TEL:
-
+86-510-86525168

Fax:
-
No.8 North Huanzhen Road, Mazhen,Xuxiake Town,Jiangyin City,Jiangsu Province,China

Address:
Feel Free To Contact Us :
-
+86-13616168066
-
-

Oct. 26, 2026
Industry News
Vinyl Tile Bathroom Floor Guide: Specs, Installation, and Moisture Control
Content
- 1 Why Vinyl Tile Works in a Bathroom
- 2 The Specs That Matter More Than the Pattern
- 3 Installation Sequence for a Bathroom
- 4 Water, Moisture, and Mold: What Vinyl Tile Does and Does Not Solve
- 5 Layout, Cuts, and Details That Separate a Good Floor from a Great One
- 6 Maintenance and Long-Term Performance
- 7 FAQ
Water on a bathroom floor rarely stays where it lands. It finds the toilet flange, the tub edge, the door threshold, and the gap under the skirting board. That is why a vinyl tile bathroom floor should be judged as an assembly, not as a single plank.
Field note
Vinyl tile is a practical bathroom floor when the plank has a rigid core, a textured wear layer, tight click joints, and a 6-10 mm expansion gap hidden under trims. It is a poor choice when a glossy, smooth plank is laid over a wet subfloor with no drying path.
Vinyl tile is a resilient floor covering made from PVC layers around a core. In bathrooms, the useful distinction is between flexible LVT and rigid SPC or EPC planks. Rigid cores hold their shape better across small rooms and tolerate minor temperature swings. Flexible tiles need a flatter, well-bonded substrate and more careful adhesive control.
12 mil A sensible residential wear-layer baseline for a busy family bathroom.
6-10 mm Perimeter expansion gap for many floating rigid-core plank installations.
3 mm Typical flatness tolerance over a 2 m straightedge, but always check the plank instructions.
Why Vinyl Tile Works in a Bathroom
Vinyl tile works in a bathroom because it removes grout lines from the daily cleaning routine, feels warmer than ceramic underfoot, and can be installed over a prepared substrate with less dust than a full tile replacement. The surface is comfortable for bare feet, and a rigid click plank can be replaced plank by plank if a local repair is needed.
Water resistance is not a single product property. It is the performance of the plank, the joint, the subfloor, and the perimeter detailing together.
The limitation is standing water. A waterproof core does not create a sealed shower pan. If water reaches the subfloor through a loose joint, a cut edge around the toilet, or an unsealed tub perimeter, the plank can still look perfect while the cavity below stays damp.
Where it beats ceramic and where it does not
For a powder room, family bathroom, or ensuite with normal splash and floor-washing routines, rigid vinyl tile is a strong fit. For a wet room with open shower drainage, the floor build-up and waterproofing membrane need to be designed as a wet-area system first.
| Floor type | Bathroom fit | Key risk |
| Rigid vinyl tile | High for splash zones, powder rooms, and family bathrooms | Poor subfloor flatness and trapped moisture at edges |
| Flexible LVT | Good for comfort when the substrate is smooth and dry | Telegraphing, adhesive failure, and damp slab issues |
| Ceramic tile | Excellent for direct wet zones when properly waterproofed | Cold surface, grout maintenance, and cracked tiles |
| Engineered wood | Low for full bathrooms with showers | Swelling at seams, edges, and door thresholds |
The Specs That Matter More Than the Pattern
For a bathroom, specify the core, wear layer, surface texture, and joint system before you choose a color. The product photo sells the room, but the specification decides whether the floor survives the room.
Core
Rigid SPC or EPC cores are common for click bathrooms. Thickness alone is not a quality score. Joint stability and flatness matter more than a few extra millimeters.
Wear layer
A 12 mil wear layer is a reasonable residential starting point. A 20 mil layer suits heavier use. A thin layer can show scuffs and dull spots near the door and vanity.
Surface
Choose a textured, matte finish for wet barefoot areas. Glossy tile-look planks can look sharp, but they are a poor match for a shower splash zone.
Check the click joint, not just the color
A click plank should close tightly by hand before it is tapped home. If the joint needs force, stop and check the locking edge. The click vinyl plank spec guide is a useful cross-check for wear layer, core, and joint tolerances before ordering.
The three specs I check first are wear layer, core type, and joint tolerance. Pattern comes fourth. In a small bathroom, a beautiful plank with a weak joint is an expensive sample.
Tile looks for wet rooms
Tile-texture vinyl designs give the visual discipline of stone or cement without the grout line. For a slate look with a calm grey base, the EPC click plank below is a natural fit for a family bathroom.
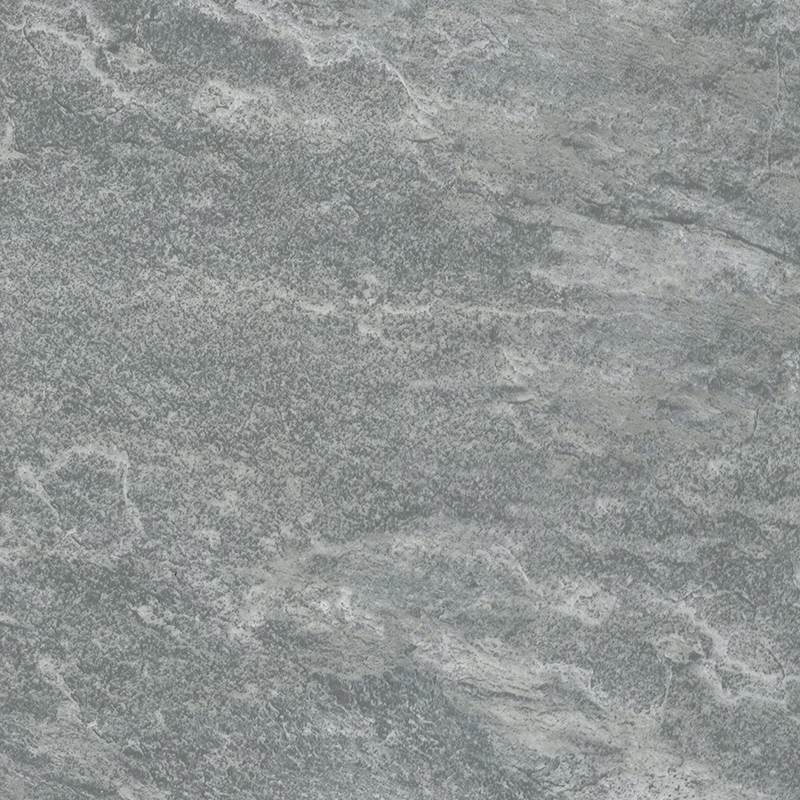 Grey Slate-Style Tile Texture EPC Click Vinyl PlankSlate-inspired grey vinyl plank with layered stone texture, waterproof SPC/ABA core and Valinge click installation for family bathrooms and moisture-prone rooms.View Product →
For a cooler quartzite look that hides light water marks, a grey quartzite tile texture is a practical choice near a vanity and bath.
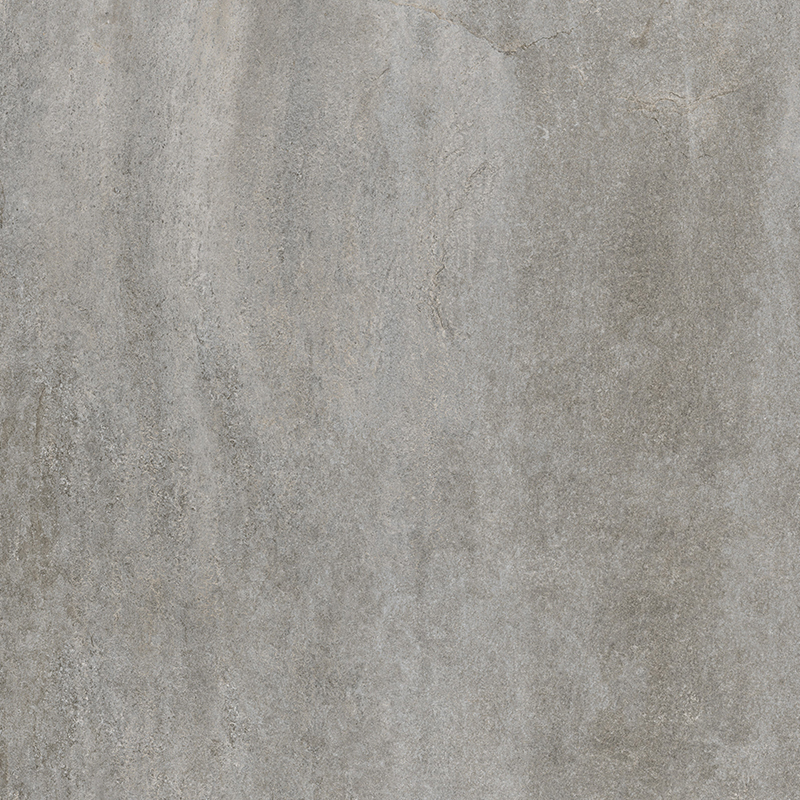 Grey Quartzite Tile Texture EPC Click Vinyl PlankCool grey quartzite-look vinyl plank with fine stone texture, UV-coated low-sheen surface and waterproof click-lock core for modern minimalist bathrooms and kitchens.View Product →
For a warmer cement tone that suits small bathrooms with limited daylight, a light beige-grey cement tile texture keeps the room from feeling clinical.
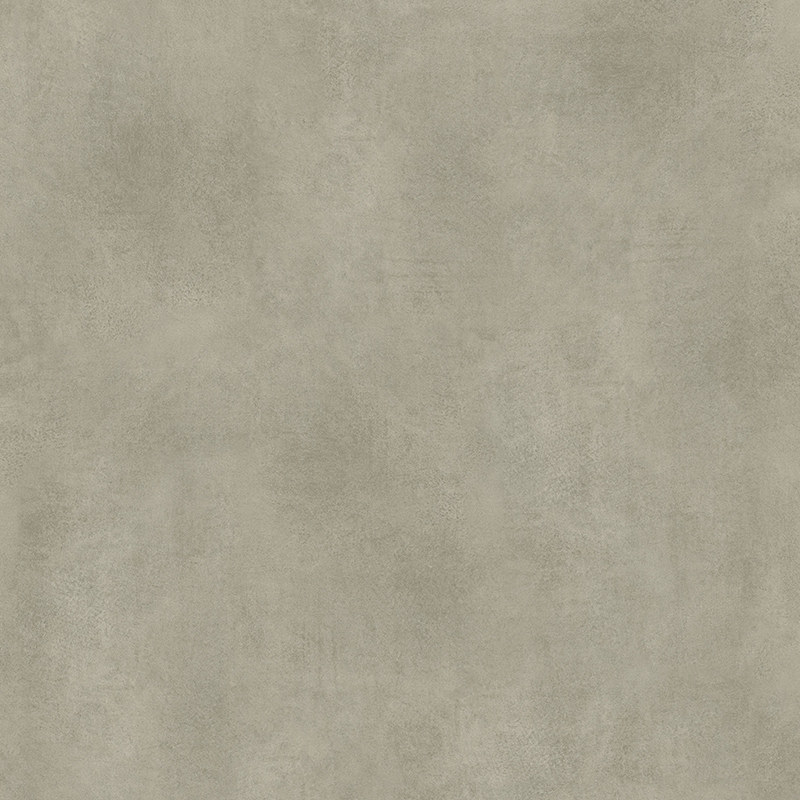 Light Beige-Grey Cement Tile Texture EPC Click Vinyl PlankPale beige-grey cement-look vinyl plank with textured stone motifs, low-gloss UV coating and waterproof click installation for brighter small bathrooms and continuous interiors.View Product →
See the broader tile-texture vinyl designs range if the bathroom connects to a hallway or bedroom and needs a continuous visual language.
Installation Sequence for a Bathroom
A bathroom installation succeeds when the room is treated as a wet system, not as a normal room with a sink in it. The sequence below is the one I would check before a single plank is clicked.
-
Strip and inspect
Remove the toilet and, where practical, the vanity. Check the subfloor for soft patches, old adhesive, high spots, and signs of past leaks. A moisture test is cheap compared with a failed floor.
-
Correct the substrate
Grind high spots, fill low spots, and vacuum thoroughly. Most rigid plank systems need a flat surface, often around 3 mm over a 2 m straightedge. Always follow the specific plank instructions.
-
Acclimate and lay out
Let the planks sit in the room for the stated time, usually 24-48 hours. Dry-lay the room from the main sightline. Avoid narrow slivers at the door and tub edge.
-
Install with a perimeter gap
Keep a 6-10 mm gap at walls, cabinets, and door frames. Undercut the door jamb so the plank slides under the trim. Do not bridge the gap with rigid sealant.
-
Detail the wet penetrations
Cut closely around the toilet flange, tub edge, and supply lines. Use a flexible sealant at wet cuts where the manufacturer allows it. The goal is to shed water, not to trap it.
-
Reinstall fixtures and cure
Fit a new wax ring or seal as required, reinstall the toilet, and keep heavy fixtures off fresh sealant for the stated cure time. Run the exhaust fan during and after the work.
Do not fill the wall gap with silicone. The gap is for movement. Sealant belongs at wet penetrations and exposed cut edges, not at the skirting board where the floor needs to move.
Water, Moisture, and Mold: What Vinyl Tile Does and Does Not Solve
Vinyl tile handles splashes, wet feet, and routine floor cleaning well. It does not fix a leaking toilet, a failed shower seal, or a cold slab that stays damp under a plastic sheet.
What it handles well
- Water on the surface from baths, showers, and floor washing
- Humid bathroom air when the exhaust fan is used properly
- Frequent damp mopping without grout to scrub
- Small splashes around the vanity and toilet base
What it cannot fix
- Bulk water trapped under the planks after a leak
- Mold growth on damp organic dust or a wet subfloor
- A missing shower membrane or failed drain seal
- Pooling water at a poorly sloped threshold
A waterproof plank is not a waterproof room. The weakest points are the toilet flange, the shower threshold, and the door transition. Check those three details before you blame the plank.
Layout, Cuts, and Details That Separate a Good Floor from a Great One
A small bathroom shows every layout mistake. A plank that is centered on the doorway can push a narrow cut against the tub. A full plank at the vanity can leave a thin strip at the most visible wall.
Toilet flange
Cut cleanly and seal the exposed edge. The toilet should sit on the flange, not on a spongy stack of planks.
Door threshold
Check the height difference before installation. A reducer or end profile should sit flat and leave room for movement.
Tub and shower edge
Leave a small gap, then seal with a flexible bathroom sealant. A tight plank jammed against the tub can squeak or lift.
The best bathroom vinyl job is the one where the cuts are boring and the transitions are quiet.
- Dry-lay the main sightline before cutting the first plank.
- Keep joint lines parallel to the longest visible wall.
- Check threshold height against the finished floor, not the bare subfloor.
- Seal wet cut edges where the manufacturer requires it.
Maintenance and Long-Term Performance
Vinyl tile in a bathroom is easy to maintain when water is removed rather than pushed into joints. A pH-neutral cleaner, a damp mop, and a working exhaust fan do more for long-term performance than a strong detergent.
- Vacuum or sweep grit before mopping to reduce surface scuffs.
- Avoid steam mops unless the plank maker expressly allows them.
- Wipe up standing water at the flange and tub edge promptly.
- Run the exhaust fan during showers and for 15-20 minutes afterward.
- Use felt pads under movable bathroom furniture and scales.
In a family bathroom, the floor usually fails at the edges before the wear layer wears out. Inspect the sealant at the tub, toilet, and threshold once a year and refresh it when it pulls away.
FAQ
The short answers below assume a rigid-core vinyl tile installed over a flat, dry substrate with the manufacturer's expansion and sealing details followed.
Can vinyl tile go in a bathroom with a shower?
Yes, for the bathroom floor around a shower when the plank is rated for wet areas and the shower itself has a proper waterproof membrane and drain seal. Vinyl tile is not a substitute for the shower pan or wet-room waterproofing.
Do I need to remove the toilet to install vinyl tile?
In most cases, yes. Removing the toilet allows a clean cut around the flange and a proper seal. Lifting the toilet also gives you a chance to inspect the flange and subfloor for old leaks.
How long before the bathroom floor can be used?
Light foot traffic is often possible immediately after a click installation, but fixtures, sealants, and adhesives need their stated cure time. Keep heavy loads off new sealant for at least 24 hours unless the product says otherwise.
Will mold grow under vinyl tile?
Mold needs moisture and a food source, not necessarily the vinyl itself. Dust, paper backing, wood subfloor, and damp adhesive can support mold if water is trapped. Fix the water source, dry the cavity, and use the exhaust fan.
The specification that matters most is not the tile image. It is how the floor handles water at the edges, because that is where a vinyl tile bathroom either stays dry or quietly fails.



LET'S WORK TOGETHER
WELCOME TO JOIN!
-
+86-13616168066
-
[email protected]

-
+86-510-86525168
-
No.8 North Huanzhen Road, Mazhen,Xuxiake Town,Jiangyin City,Jiangsu Province,China
JOIN OUR MAILING LIST
Copyright © 2025 Jiangsu Herewin Environmental Technology Co., Ltd. All Rights Reserved. Vinyl Plank Flooring Manufacturers SPC Rigid Core Flooring Factory
